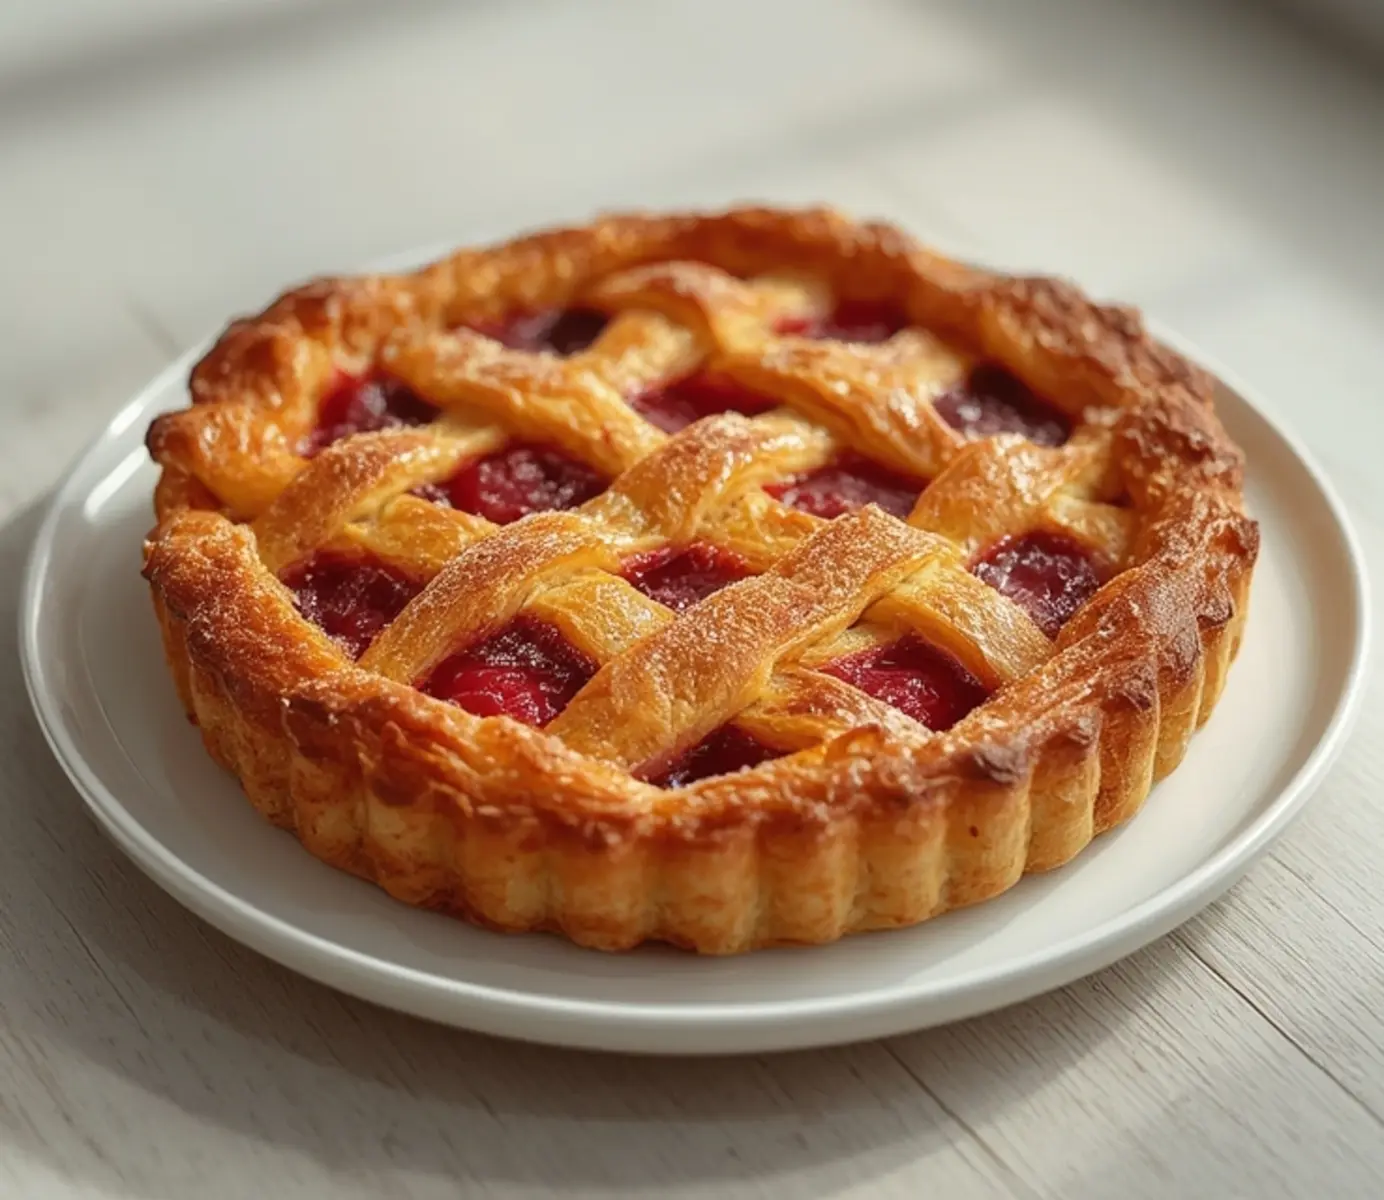
I remember the first time I attempted a pie in an air fryer. In professional kitchens, we obsess over airflow and heat distribution, and I was skeptical that a countertop appliance could deliver that flaky, golden crust without drying out the filling. But when I pulled out that first test batch-a small-batch cherry pie with a perfectly browned lattice and bubbling fruit-I realized the air fryer wasn’t just a convenience tool; it was a precision oven. That discovery changed everything. Today, we’re bringing that level of technique to a beloved classic. Making an air fryer cherry pie isn’t just about speed; it’s about harnessing intense, circulating heat to create a bakery-quality dessert right on your countertop.
Essential Ingredients and Tools for Your Air Fryer Cherry Pie
To nail this recipe, we need to focus on the structure and the filling. The intense airflow of the air fryer requires a sturdy dough that won’t blow around but will still shatter when you bite into it. For the filling, balance is key-cherries release a lot of juice, and we need to control that moisture so it doesn’t turn the bottom crust into mush.
Ingredients:
* Frozen Pitted Cherries: I prefer frozen for consistent availability, but fresh works if you adjust the thickener. These provide the tartness and jammy texture essential for a great baked fruit dessert.
* Cornstarch: This is your thickening agent. It activates quickly in the air fryer’s high heat, turning cherry juices into a glossy sauce rather than a watery mess.
* Granulated Sugar: Sweetens the tart cherries. We use just enough to complement the fruit without making it cloying.
* Lemon Juice: A splash of acid brightens the flavor and prevents the cherries from turning dull during cooking.
* Store-Bought Pie Crusts: For a truly easy cherry pie, high-quality refrigerated dough is a fantastic shortcut. It ensures a consistent, flaky base without the hassle of making dough from scratch.
* Egg Wash (1 egg + 1 tbsp water): This is non-negotiable for that deep golden color. Without it, the top crust looks pale and floury.
* Butter (cubed): Dotting the filling with small cubes of butter enriches the sauce and helps create a velvety texture.
Essential Tools:
* Air Fryer: Any model works, but ensure the basket or pan is large enough for a 6-inch pie pan. A 3.5 to 5-quart capacity is ideal.
* 6-inch Oven-Safe Pie Pan: A small, deep-dish pie pan fits perfectly in most baskets. Glass or ceramic is best for even heat transfer.
* Parchment Paper: Cut into a circle to line the bottom of the pie pan. This prevents sticking and makes retrieval much easier.
* Pastry Brush: For applying an even, thin layer of egg wash to the crust.
Quick Prep and Cook Time for Perfect Air Fryer Cherry Pie
Prep Time: 15 minutes
Cook Time: 25-30 minutes
Total Time: 45 minutes
The prep phase is all about assembly and moisture control. You’ll mix the filling to allow the sugar to draw out juices and dissolve the cornstarch evenly. The cook time is where the magic happens: the air fryer rapidly circulates heat, crisping the top crust in minutes while the filling bubbles underneath. This dual-zone cooking-crisp top, hot filling-is something that usually requires a broiler and an oven, but the air fryer does it in one go.
Time-Saving Tip: Don’t wait for the air fryer to preheat for an eternity. Most units preheat in under 3 minutes. Use that time to mix your filling and apply the egg wash. This gets this quick pie recipe from counter to table faster.
Step-by-Step Guide to Making a Flaky Air Fryer Cherry Pie
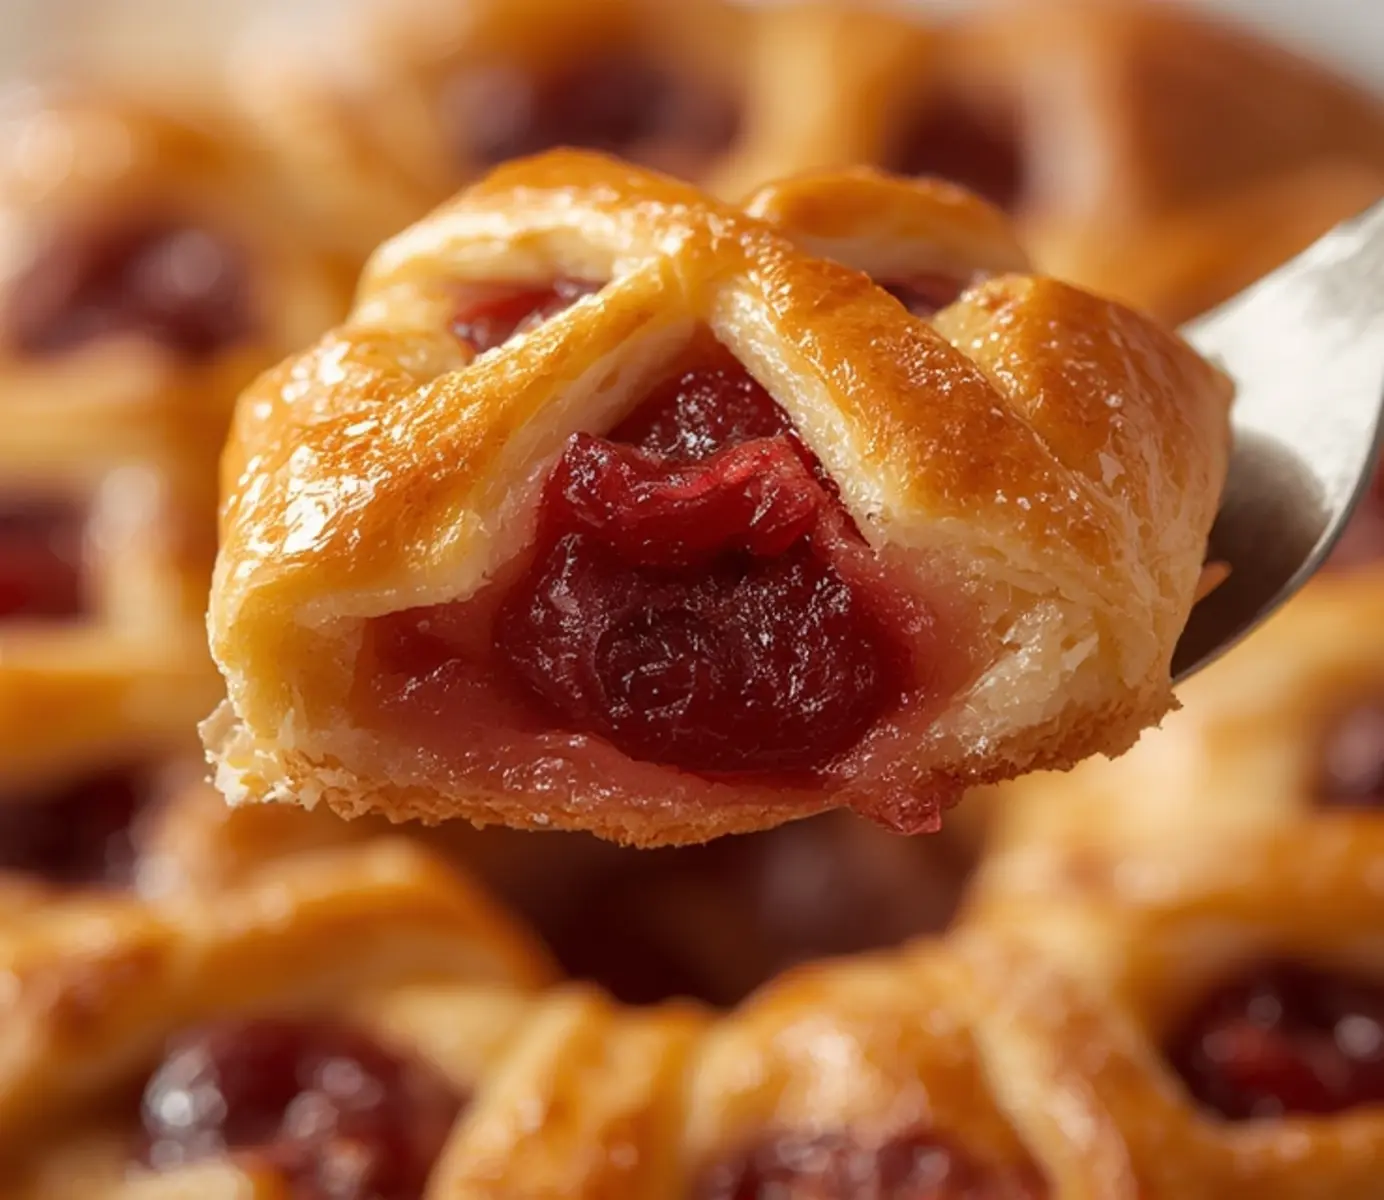
1. Preheat the Air Fryer: Set your machine to 375°F (190°C). Letting the chamber get hot before the pie goes in ensures the bottom crust starts cooking immediately, preventing a soggy base.
2. Prepare the Filling: In a bowl, toss the cherries, sugar, cornstarch, and lemon juice. Let it sit for 5 minutes. This brief maceration period allows the sugar to draw out just enough juice to dissolve the starch, creating a perfect sauce consistency.
3. Line the Pie Pan: Cut a circle of parchment paper and place it in the bottom of your 6-inch pie pan. Spray the sides lightly with oil. Press one disc of pie dough into the pan, molding it up the sides. Prick the bottom with a fork to prevent air pockets.
4. Fill and Top: Pour the cherry mixture into the crust. Dot the top of the fruit with the cubed butter. Moisten the rim of the bottom crust with water, then place the second dough disc on top. Crimp the edges to seal. Cut 3-4 small slits in the top for steam to escape.
5. Apply Egg Wash: Brush the top crust thoroughly with the egg wash. This protein and sugar mixture will brown rapidly in the air fryer, giving you that professional sheen.
6. Air Fry: Place the pie pan in the air fryer basket. Cook for 25-30 minutes. At the 15-minute mark, check the crust. If it’s browning too fast (common in high-powered models), lower the temperature to 350°F or tent loosely with foil. You’ll know it’s done when the crust is deeply golden and you see thick, bubbling juices through the vents.
Why You’ll Love This Healthy Air Fryer Cherry Pie
air fryer cherry pie is a revelation for anyone who loves pie but hates the hour-long bake time in a traditional oven. The air fryer cuts cooking time by nearly half while delivering a superior crust texture. Because the heat is so concentrated, the exterior gets incredibly crispy without needing to fry the dough in fat. You get the satisfaction of a warm, baked fruit dessert with significantly less oil than deep-fried alternatives. It’s a smarter way to bake that preserves the vitamins in the fruit while satisfying those deep-seated cravings for comfort food.
Creative Variations for Your Air Fryer Cherry Pie
Once you master the base recipe, the air fryer becomes a canvas for creativity. For a rustic twist on this homemade cherry pie, try an open-faced galette: skip the top crust, fold the edges over the fruit, and brush with heavy cream instead of egg wash. It cooks faster and looks effortlessly chic.
If you are cooking for a crowd or want to batch cook, consider making hand pies. Cut the dough into 5-inch circles, mound filling in the center, fold, and crimp. These cook in about 12-15 minutes and are perfect for portion control or grabbing on the go. For a holiday variation, mix orange zest and a pinch of nutmeg into the filling to evoke the warmth of winter baking.
Common Mistakes to Avoid When Making Air Fryer Cherry Pie
Even the best chefs stumble on new equipment. The most common error I see is overcrowding the basket. If your air fryer is packed, airflow is blocked, leading to uneven cooking-a burnt top and raw bottom. Give the pie space; cook it alone.
Another pitfall is ignoring the temperature charts specific to your machine. Air fryers vary wildly in wattage and airflow design. A recipe that calls for 375°F might run hotter in a 1700-watt unit than a 1000-watt one. Always monitor your first bake closely. Finally, don’t skip the egg wash. It might seem like a small detail, but it’s the difference between a pale, floury crust and a glossy, appetizing air fryer cherry pie.
Storing and Reheating Your Leftover Air Fryer Cherry Pie
Storing your baked goods correctly ensures your hard work pays off for days. Once the pie has cooled completely to room temperature, cover it loosely with foil or plastic wrap and keep it in the refrigerator for up to 4 days. The cold environment prevents the fruit filling from fermenting and keeps the crust from getting gummy.
To reheat, avoid the microwave-it will turn your flaky crust into rubber. Instead, return a slice to the air fryer at 320°F for 3-4 minutes. This revives the crispiness of the bottom and top crusts while warming the filling through. This is the same method I use for reheating almost all my air fryer dessert recipes; it maintains the texture you worked so hard to achieve.
Enjoy Your Delicious Air Fryer Cherry Pie Today
Baking an air fryer cherry pie is proof that you don’t need a massive kitchen or professional gear to create something truly special. It’s about understanding the heat, respecting the ingredients, and trusting the process. Whether you are a beginner testing the waters or a seasoned cook looking for efficiency, this recipe is designed to work.
I built ChefAirFryer.net to strip away the guesswork and give you reliable, tested techniques. I want you to feel that same excitement I felt pulling that first perfect pie out of the basket. So, preheat your machine, grab your cherries, and let’s get baking. I can’t wait to hear how it turns out.
Happy Cooking – Chef Marcus.
Nutrition Facts (Per Serving)
Ultimate Air Fryer Cherry Pie with Golden Crust

Equipment
- Air Fryer
- Small Pie Pan
Ingredients
Main Ingredients
- 1 box refrigerated pie crusts two crusts
- 2 cups cherry pie filling canned or homemade
- 1 tbsp melted butter for brushing
Instructions
- Preheat your air fryer to 370°F (185°C) and lightly grease a small pie pan that fits inside.
- Press one pie crust into the bottom and up the sides of the pan, then add the cherry pie filling evenly.
- Place the second crust on top, crimp the edges, and cut a few slits for steam to escape. Brush with melted butter.
- Air fry for 15-20 minutes until the crust is golden brown and the filling is bubbling hot.
Frequently Asked Questions
Can I use frozen cherries for this air fryer cherry pie?
Yes, you can use frozen cherries without thawing them first. Simply toss them with sugar and thickener as directed. The pie may need a few extra minutes in the air fryer to bubble properly.
How do I store leftover air fryer cherry pie?
Store the cooled pie in an airtight container in the refrigerator for up to 3 days. To maintain the crust’s crispness, reheat slices in the air fryer or toaster oven. Avoid storing at room temperature for more than a day.
Can I make the cherry pie filling ahead of time?
Absolutely, prepare the cherry filling up to 2 days in advance and refrigerate it. Assemble and bake the pie fresh when you’re ready to serve. This saves time and enhances the flavor.
What’s the best way to reheat air fryer cherry pie?
Reheat slices in the air fryer at 350°F for 3-4 minutes to restore the crisp, golden crust. You can also use an oven or toaster oven for similar results. Microwave reheating may make the crust soggy.
What are some serving suggestions for this cherry pie?
Serve warm with a scoop of vanilla ice cream or a dollop of whipped cream. Pair it with fresh mint or a drizzle of caramel sauce for extra flair. It’s a perfect dessert for any gathering.
Have more questions? Leave a comment below and we will help you out!
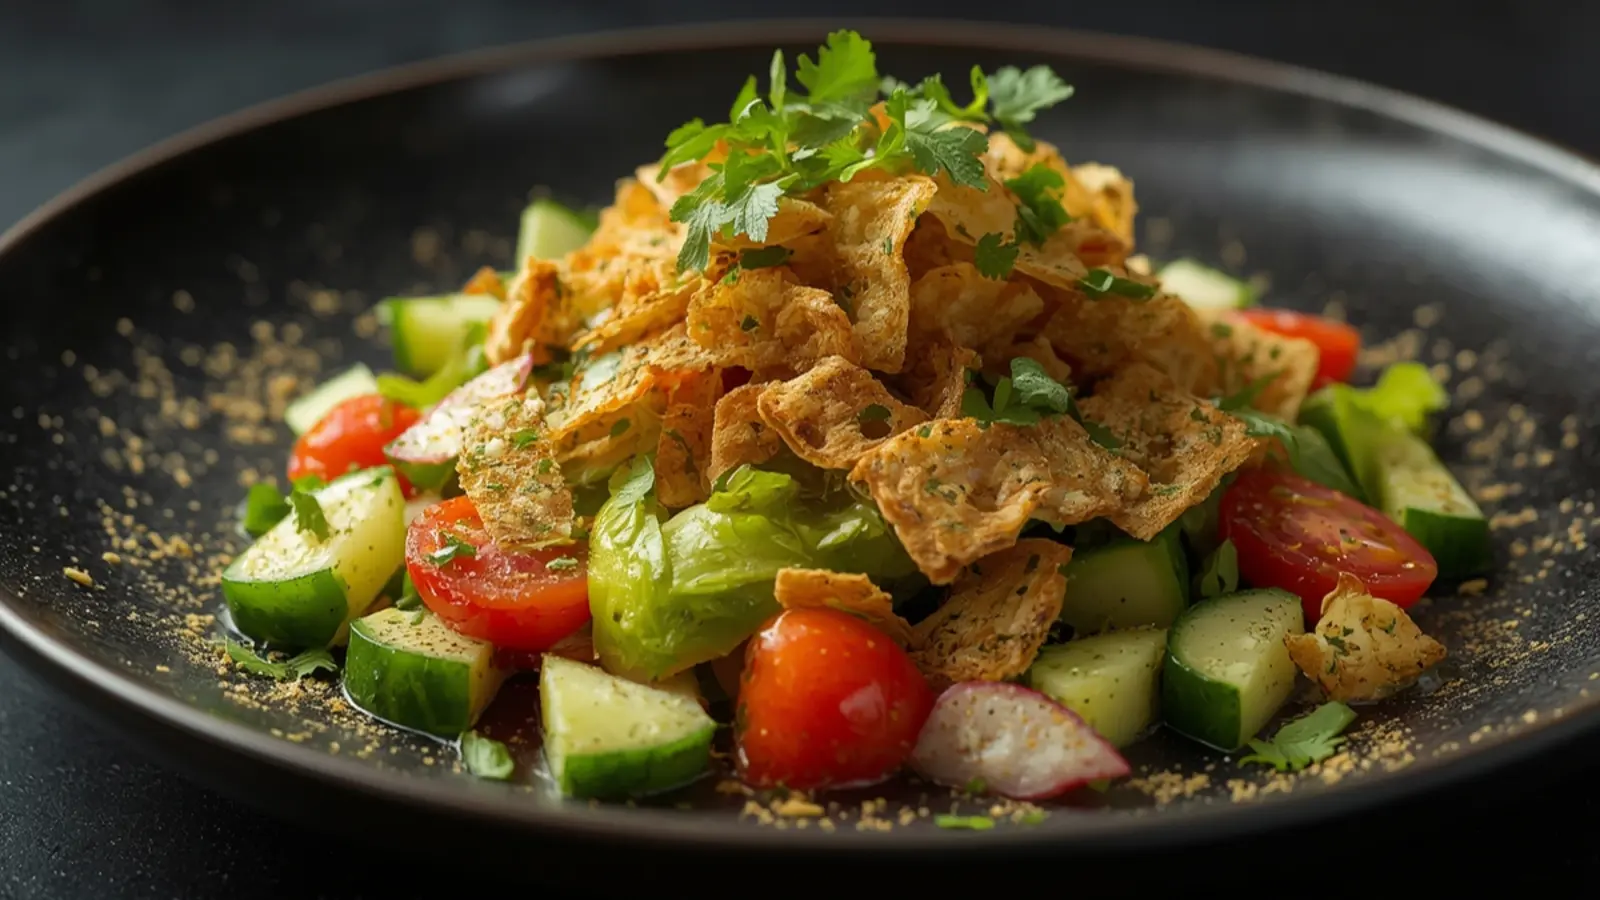
Zesty Crispy Fattoush Salad (10-Minute)
Busy mornings demand fast solutions, and this Fattoush delivers restaurant-quality results in just 10 minutes without...
Read Recipe
Juicy Air Fryer Summer Veggie Skewers Recipe
When I first tested Air Fryer Summer Veggie Skewers in my kitchen, I was chasing that elusive char and snap you usual...
Read Recipe
Ultimate Air Fryer Cherry Muffins – Golden & Juicy
I remember standing in a professional pastry kitchen years ago, the scent of vanilla and almond extract hanging in th...
Read Recipe