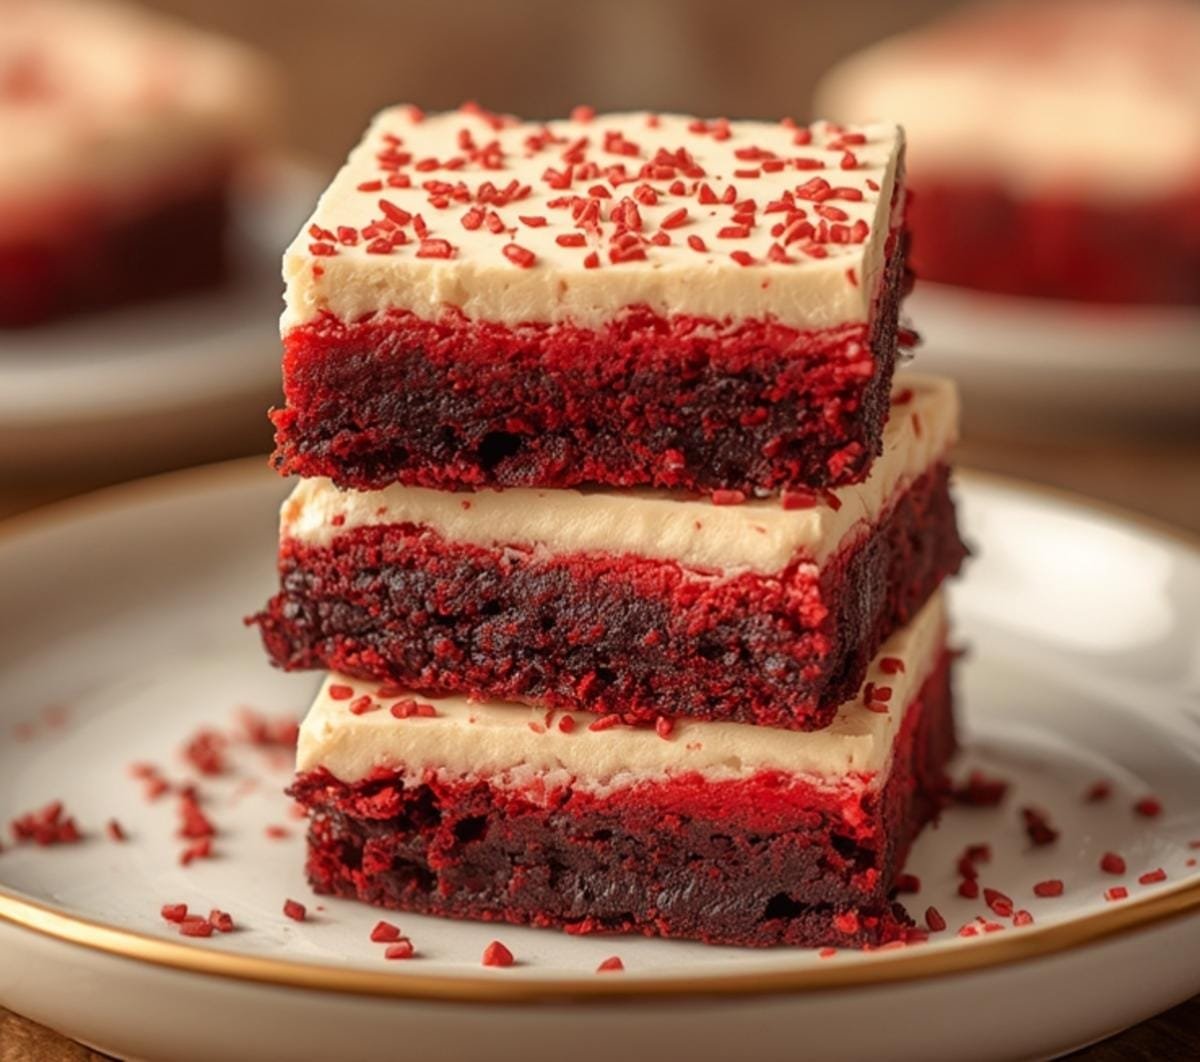
The other day, I was elbow-deep in flour, as usual. My apron looked like a flour bomb went off. But it wasn’t just flour. There was a smear of crimson, right on my hip.
Turns out, I’d been so focused on getting these air fryer red velvet brownies just right, I’d leaned against the bowl of red food coloring. Didn’t even notice. Just kept stirring.
Kitchen’s a disaster zone. Always is when something good’s brewing. Maybe you should try these heart-shaped treats if you want a different kind of fun.
And these air fryer red velvet brownies? Worth every bit of the mess. Every single red splatter.
Why You’ll Love These Air Fryer Red Velvet Brownies
These aren’t your fancy, hoity-toity brownies. These are real brownies. Fudgy ones.
They’re quick. Like, really quick. No waiting around for the oven to heat up forever.
And the air fryer does some magic. It gives them this chew. It’s good. Believe me.
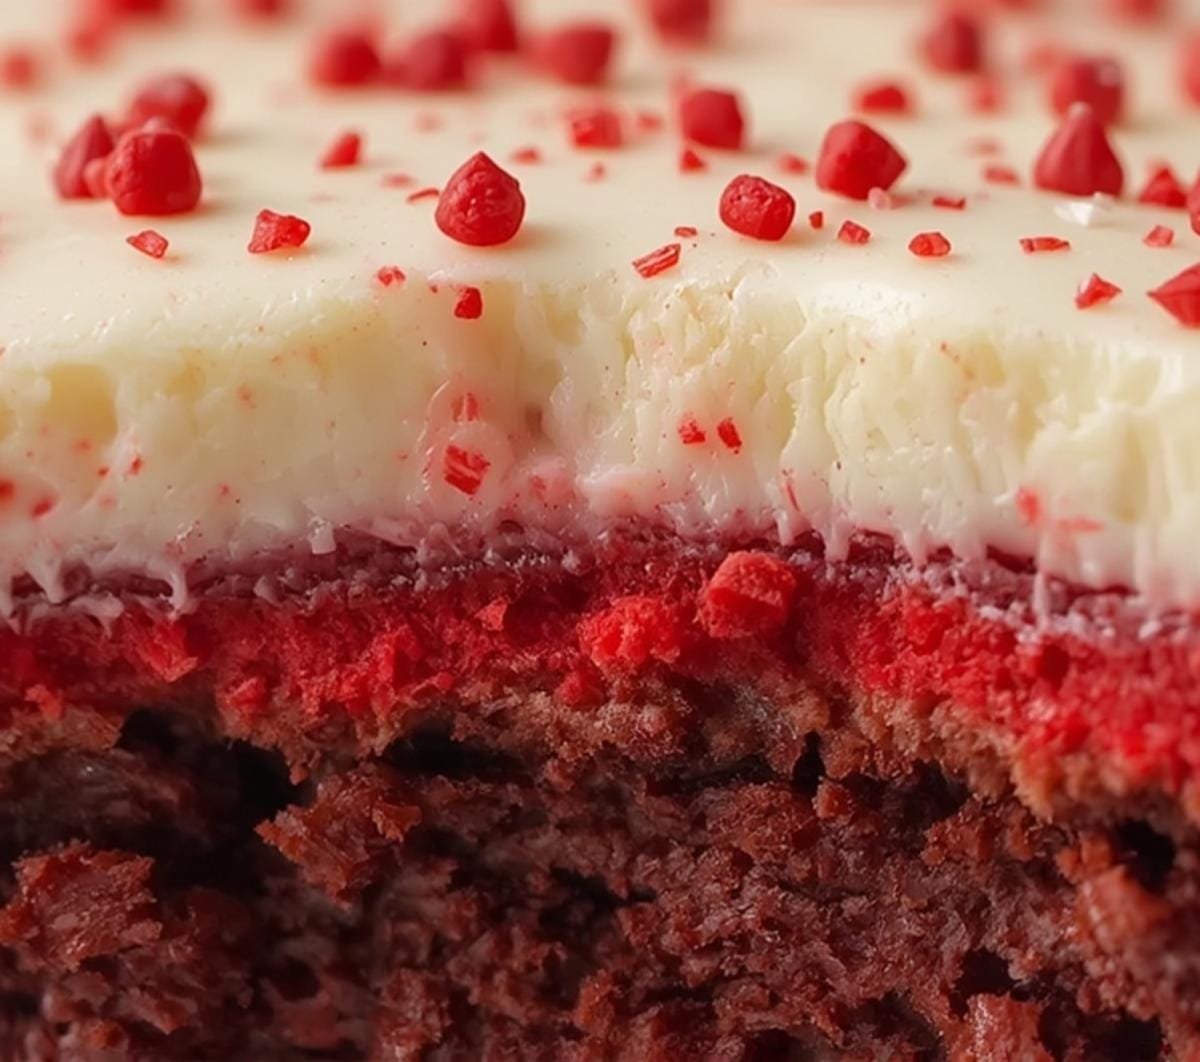
Ingredients for Air Fryer Red Velvet Brownies
You don’t need a whole grocery store trip for these. Just the basics. Pantry stuff, mostly.
Dry Ingredients
1 cup all-purpose flour
1/2 cup cocoa powder
1/2 teaspoon baking soda
1/4 teaspoon salt
Wet Ingredients
1 cup granulated sugar
1/2 cup vegetable oil
2 large eggs
1 tablespoon red food coloring
1 teaspoon vanilla extract
Optional Goodies
1/2 cup chocolate chips
How to Make Air Fryer Red Velvet Brownies
This is the easy part. Seriously. Don’t overthink it.
Step 1: Get the Air Fryer Ready
First, you gotta fire up that air fryer. Set it to 320°F (160°C). Give it a minute to warm up properly.
Step 2: Mix the Dry Stuff
Grab a mixing bowl. Toss in the all-purpose flour, cocoa powder, baking soda, and salt. Whisk it around until combined.
Step 3: Mix the Wet Stuff
In another bowl, mix the granulated sugar, vegetable oil, eggs, red food coloring, and vanilla extract. Mix it until it’s smooth.
Step 4: Combine Them
Slowly add the dry mixture to the wet. Mix until it’s just combined. Don’t overmix.
Step 5: Add Chocolate Chips
If you’re feeling extra, fold in those chocolate chips. It makes these brownies even better.
Step 6: Into the Pan It Goes
Get yourself an air fryer-safe pan. Grease it up good or line it with parchment paper. Pour the batter in and spread it evenly.
Step 7: Time to Cook!
Slide that pan into your preheated air fryer. Cook for about 12-15 minutes. If a toothpick comes out with moist crumbs, you’re good.
Step 8: Cool Down
Pull the pan out. Let them sit and firm up for a few minutes. Slice into squares and serve warm.
Tips for Perfect Air Fryer Red Velvet Brownies
Don’t overcrowd your air fryer. Use proper baking methods like testing for doneness early to ensure perfection. If you need more inspiration, check out these simple cookie tips for your next session.
Variations and Substitutions
You can swap the vegetable oil for melted butter for a richer flavor. Cream cheese frosting is a classic choice for red velvet.
For a nutty crunch, fold in chopped walnuts or pecans. Baking is all about making it your own.
Remember that baking at home means you know exactly what’s in your food. You can research healthy flour options if you want to swap the base ingredients.
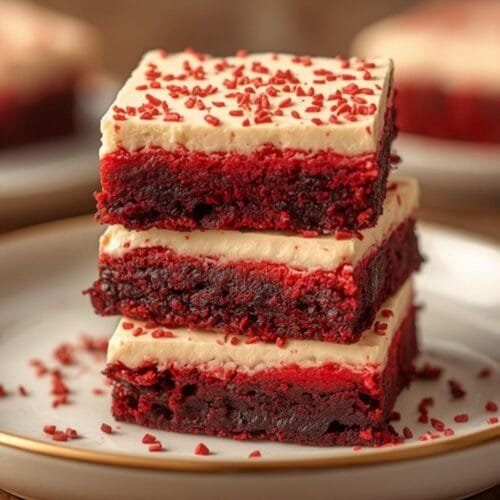
Air Fryer Red Velvet Brownies

Ingredients
- 1 cup all-purpose flour
- 0.5 cup cocoa powder
- 1 cup granulated sugar
- 0.5 cup vegetable oil
- 2 large eggs
- 1 tablespoon red food coloring
- 1 teaspoon vanilla extract
- 0.5 teaspoon baking soda
- 0.25 teaspoon salt
- 0.5 cup chocolate chips optional
Instructions
- Preheat your air fryer to 320°F (160°C).
- Whisk the all-purpose flour, cocoa powder, baking soda, and salt in a mixing bowl.
- Mix the granulated sugar, vegetable oil, eggs, red food coloring, and vanilla extract until smooth.
- Gradually add the dry mixture to the wet ingredients and mix until just combined.
- Add chocolate chips if desired and fold them into the batter.
- Prepare a greased Air Fryer-safe pan and pour the brownie batter into it.
- Air fry for 12-15 minutes or until a toothpick inserted in the center comes out clean.
- Cool for a few minutes before slicing into squares.
Frequently Asked Questions
Can I use a different food coloring for these air fryer red velvet brownies?
Yes, while red food coloring gives them their classic hue, you can omit it or use another color for a unique twist, but they won’t be ‘red velvet’ anymore.
How do I know when my air fryer red velvet brownies are done?
The brownies are done when a toothpick inserted into the center comes out with moist crumbs, not wet batter. Be careful not to overbake, or they will be dry.
Can I add cream cheese frosting to these brownies?
Absolutely! A classic cream cheese frosting would complement these red velvet brownies perfectly once they are cooled.
How can I store leftover air fryer red velvet brownies?
Store cooled brownies in an airtight container at room temperature for up to 3 days, or in the refrigerator for up to a week.
Are these air fryer red velvet brownies suitable for freezing?
Yes, you can freeze individual brownies wrapped tightly in plastic wrap and then placed in a freezer-safe bag for up to 3 months.

Ultimate Cucumber Lime Spritzer: Refreshing 5-Ingredient Drink
I’ve been making spritzers since my grandboys were small enough to run through the sprinkler in the backyard. B...
Read Recipe
Air Fryer Chocolate Covered Strawberries Recipe
The other night, I was elbow-deep in batter, trying to get my fudgy red velvet brownies just right. Flour was everywh...
Read Recipe
Ultimate Keto Strawberry Cheesecake Bites Recipe
There’s nothing quite like the satisfaction of a sweet treat that loves you back, especially when it’s ma...
Read Recipe